UT-88. How to use the minimal configuration with MONITOR-0.
In the previous post, we learned how to launch the computer in the minimal configuration. Now let’s see how it works in detail.
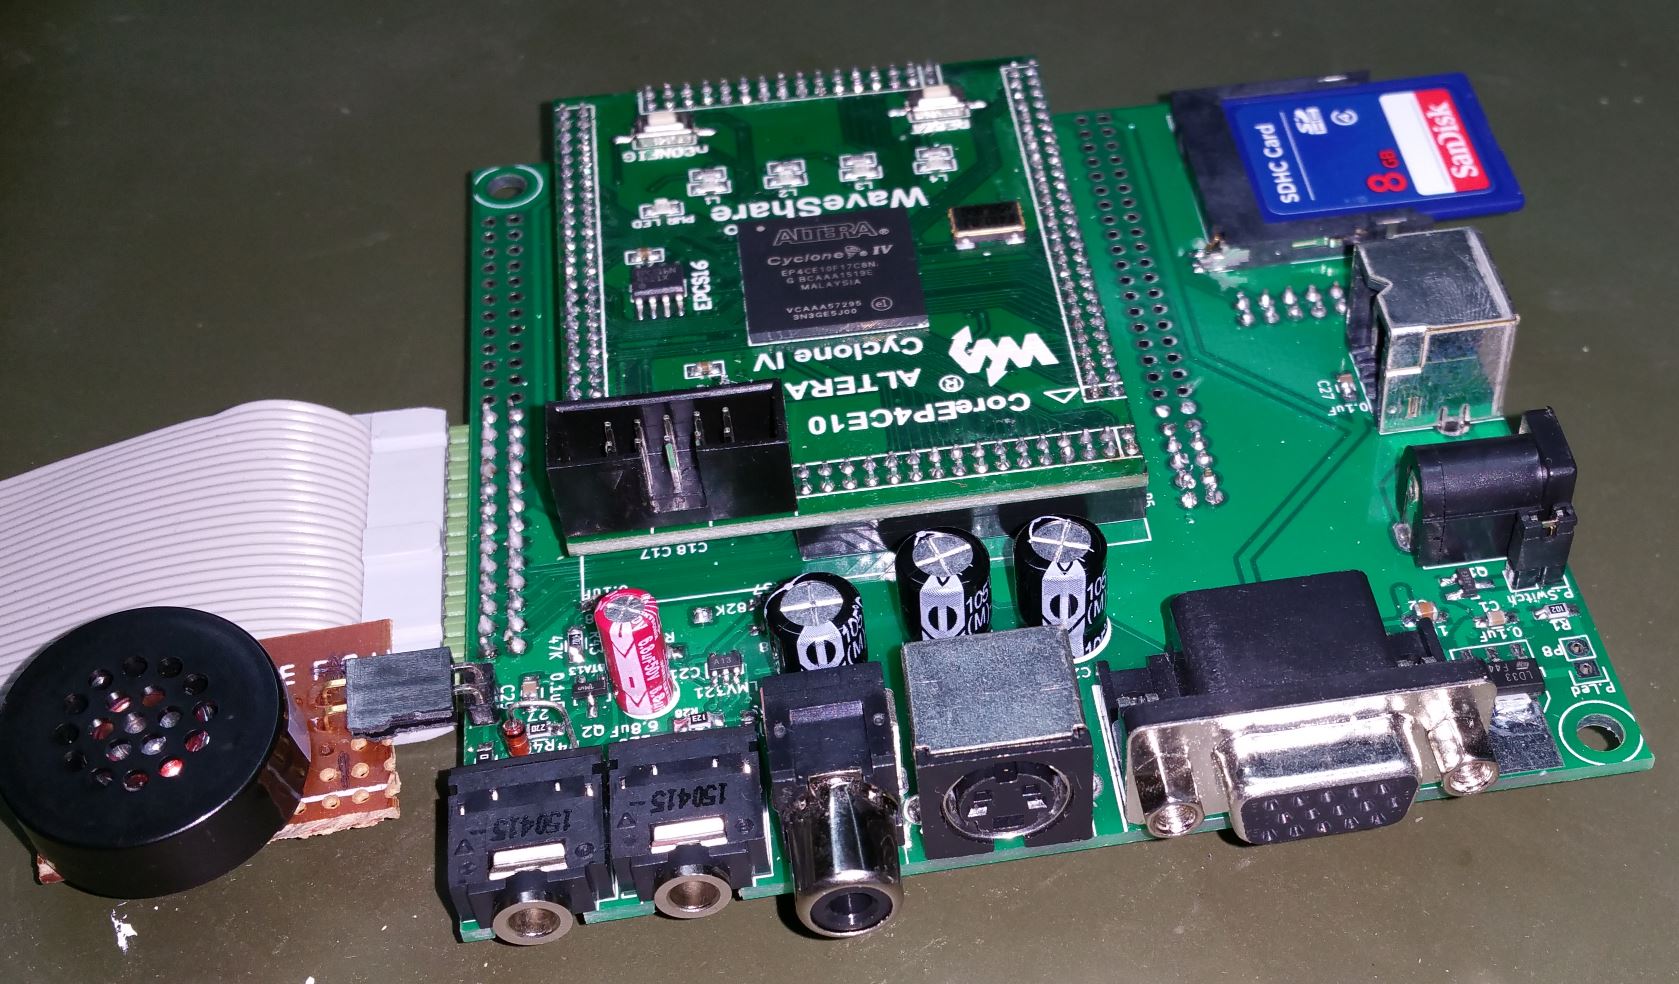
MONITOR-0, which is responsible for the minimal configuration’s computer work, is allocated in the ROM in the range 0000H-03FFH. To launch it, we need to reset the computer by the “RESET” button (KEY[0] on the DE1 board or the ‘ESC’ button on the PS/2 keyboard).
This ROM must be turned on (switch SW[2] on the DE1 board is in position “1”).
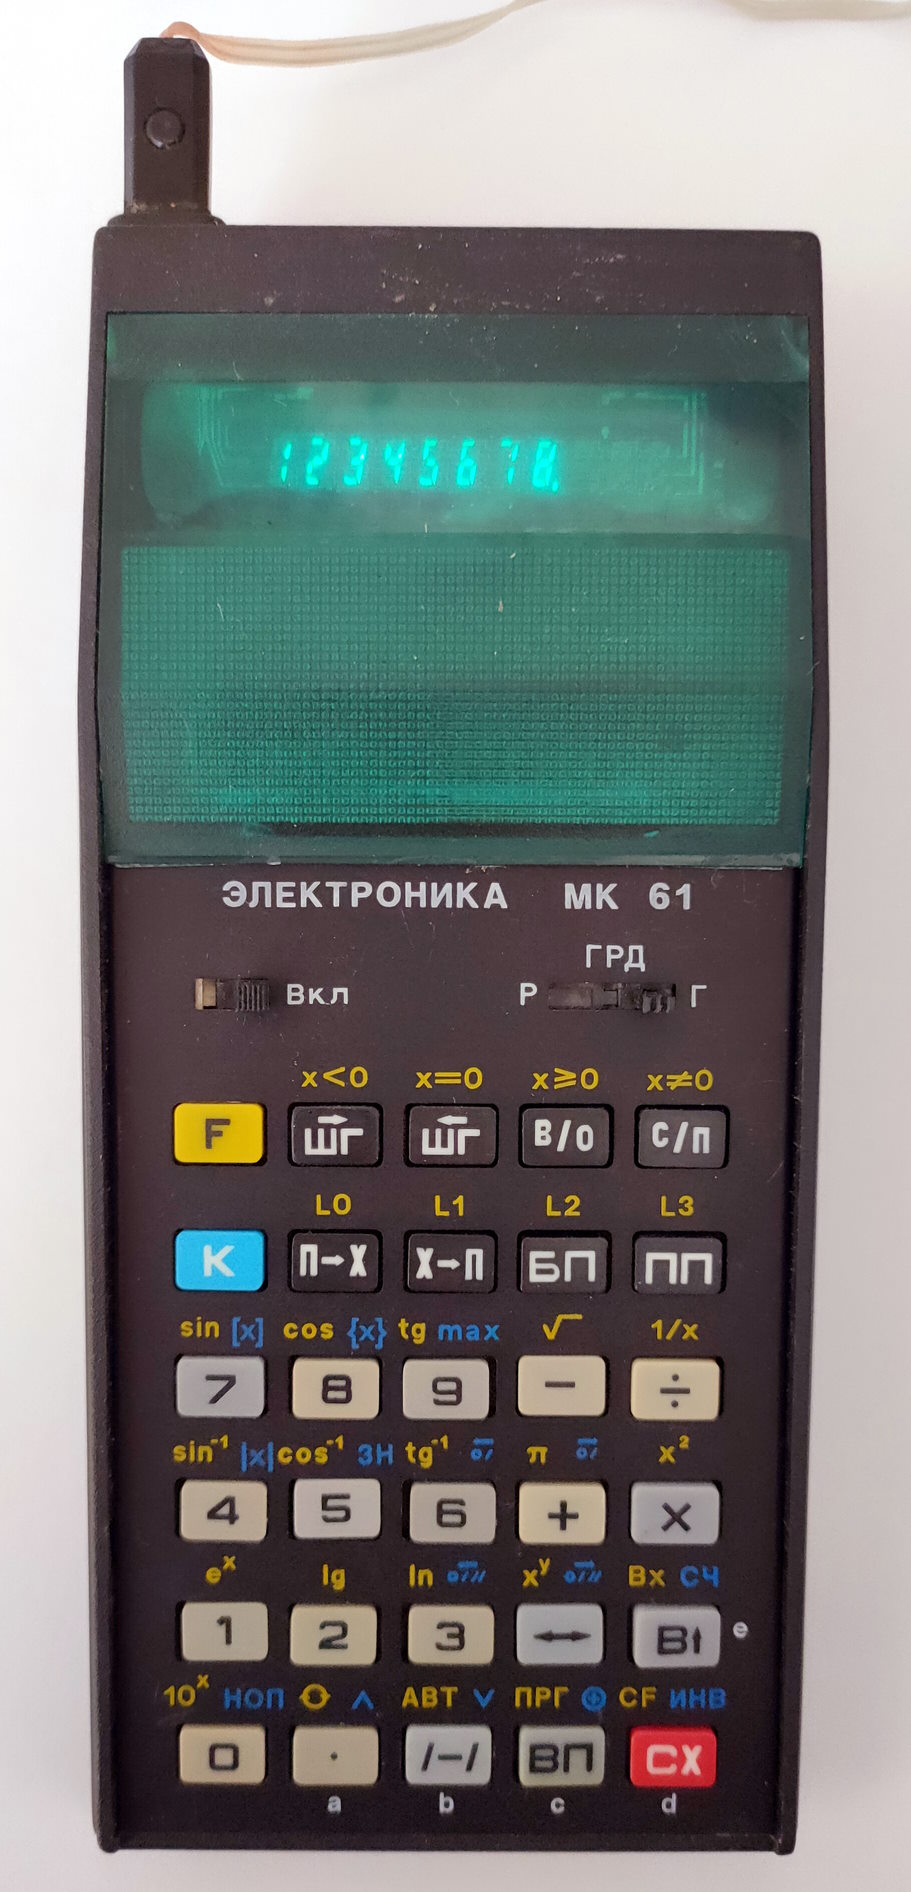
MONITOR-0 uses only a few memory cells for the stack and to keep temporary data. When MONITOR-0 is launched, the stack pointer is set up and “11” is shown on two right indicators. It means that the computer is waiting for a command from the keypad.
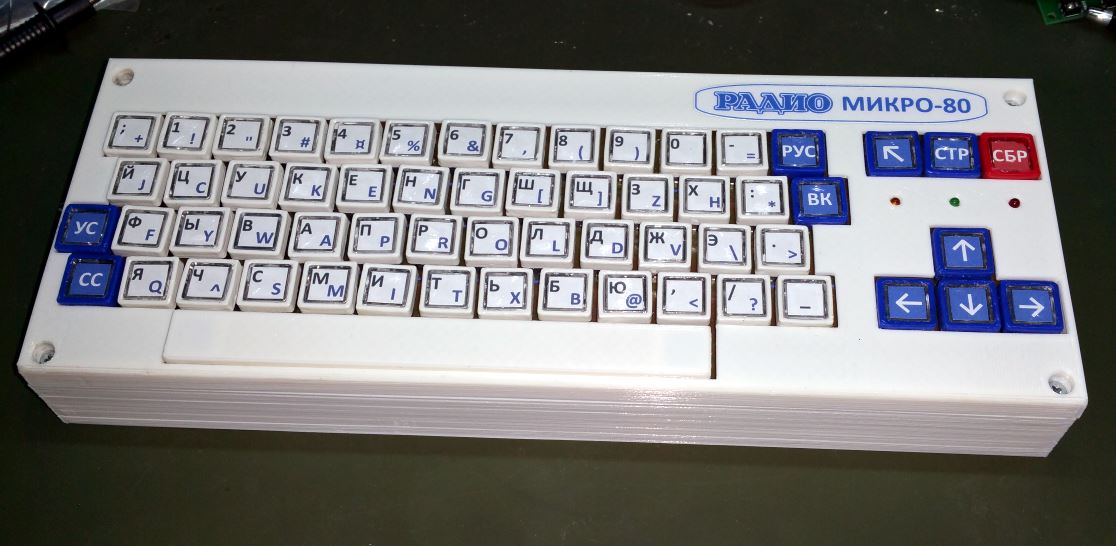
As you remember, the extension board or PS/2 keyboard can be used for this purpose. Keypad is double functional – after initialisation, each button is used to enter a command, and then it is used to enter parameters. MONITOR-0 commands are listed in the sheet:
| Key | Parameters | Description |
|---|---|---|
| 0 | ADR | Write data to RAM starting from ADR |
| 1 | – | Write data to RAM starting from C000H |
| 2 | – | Read data from RAM starting from C000H |
| 3 | – | Indicators test |
| 4 | – | RAM test |
| 5 | ADR | Read data from RAM starting from ADR |
| 6 | – | Launch program from C000H |
| 7 | ADR | Launch program from ADR |
| 8 | ADR1, ADR2 | Control sum from ADR1 to ADR2 |
| 9 | ADR1, ADR2 | Record data from ADR1 to ADR2 on tape |
| A | ADR | Read data from tape with offset ADR |
| B | – | Time indication |
| C | ADR | Clock setup with ADR: C3FDH – seconds, C3FEH – minutes, C3FFH – hours |
All MONITOR-0 commands are hex digits and contain up to three parameters. All parameters are in hex format as well. They should be entered straight after the command.
The right two indicators contain data from accumulator (A) – address 9000H). The rest indicators show data from the HL double-byte register (addresses 9001Н, 9002Н).
Command “4” allows testing the computer’s RAM. If it shows С400 on HL, then there are no errors in the RAM range from C000H to C3FFH. The test performs by writing and reading each memory cell’s zeroes and ‘1’. If any cell malfunctions, its address will be shown on the HL indicator. Please be aware that all cells of this range will be filled with “1” after this test so that any preloaded program will be erased.
Command “1” allows starting data recording to RAM from C000H. After pressing the “1′ button code, С000 appears on the HL indicators and code 00 on the A indicator. Following key entries record data to RAM. Entering data is displayed on the A indicator, and the current cell address is on the HL indicator. The computer switches to the next cell with a 1-second delay. So, if you keep holding the “1” button, “1′ will be recorded to all cells from C000H.
Command “2” reads data from memory cells from the C000H address. After entering the command, the starting address С000 will appear on HL indicators. Indicator A will show the contents of the cell. By pressing any button, you can go to the next cell.
Command “0” is similar to command “1” but requires a parameter – the address from which the data must be recorded to RAM. When you enter the parameter, it is displayed on indicator A, and when it is completed, the address appears on the HL indicators. Indicator A indicates 00. Now we can enter data for the next memory cell.
Command “5” allows reading data from any address. After the “5” button is pressed, an address parameter must be entered. It displays on the A indicator. When completed, it is shown on HL indicators, and the A indicator contains data in the cell. The following cells can be reviewed by pressing any button.
There is another special command for operations with memory – the command “Step back”. This command is not in the table above. It has a separate button, “ШН” (KEY[3] on the DE1 board or “TAB” button on the PS/2 keyboard), and can be entered when the abovementioned memory commands are in use. Let’s say that a command of memory read is currently launched. Indicators HL show an address: «С003», and indicator A displays data in this cell: «22». If the “Step back” (“ШН”) button is pressed, indicator A displays zeros, and we can put new data to the cell with С003Н address and following cells as well.
Command “8” calculates the control sum of a memory range. There are two parameters to be entered – the start and end address of the memory range for control sum calculation.
To write data on tape, the command “9” is used. It has two parameters – the first and the last address of the memory range, which needs to be recorded. A tape recorder has to be turned on just before the previous button is pressed because data will be sent immediately. The recording speed is fixed at 1500 bit/sec. It records 256 bytes of 00 and then Е6 (sync byte). Then it sends a low byte of the start address, a high byte of the start address, a low byte of the end address, a high byte of the end address, and finally, the data. Ultimately, the recorded data’s control sum is displayed on HL indicators.
Command “А” is used to read data from a tape. It has only one parameter – offset. If the offset is 0000, the program will be read to the same range from which it was recorded. If a program has been read correctly, HL indicators will show the correct control sum (the same as in the write operation). The last button of the command needs to be pressed as soon as you hear the first sounds from the tape. There are two commands to run programs.
Command “6” runs a program from address C000H.
Command “7” allows running a program from an address entered as a command parameter. Command “7” can also run some programs included in MONITOR-0 from address 0200Н to 03FFH. We will also use it to run MONITOR-F of complete configuration from address F800H.
Let’s see what those programs are for.
Address 0200Н contains the “Copy” program. Its parameters are the first and last addresses of a range to be copied and the first address of the range where the data has to be copied. Let’s say that we want to copy MONITOR-0 from address 0100Н to 0120Н to RAM from address С100Н to С120Н. In this case, the following buttons need to be pressed:
7 0200 0100 0120 С100
If the data is copied successfully, indicator A will display “11”. It means that MONITOR-0 is waiting for the following command.
You can use another program that compares two ranges to check copied data. Its address is 03В2Н. This program also has three parameters: the first address of the first range, the last address of the first range and the first address of the second range. The following buttons need to be pressed to compare copied range from the previous example:
7 03B2 0100 0120 С100
If both ranges are the same, then “11” displays on indicator A and MONITOR-0 waits for the following command. Otherwise, an address with an error is indicated, and you can change the data there immediately, if you like, and further comparison.
Most programs need to be corrected to run from a new address. It can be done with the “Corrector” program. It starts from address 025FH. It has three parameters: the first and the last addresses of the initial program and the first address of a copy. For our example, the following buttons need to be pressed:
7 025F 0100 0120 С100
When the job is done, “11” displays on indicator A and MONITOR-0 is ready for the following command.
If you want to use the corrected program on another computer with an address range different from “UT-88”, the “Supercorrector” program can be used. It starts from 02Е5Н. It has the same parameters as “Corrector”. For our example, if we want to prepare the program to be able to run from address F100, the following buttons need to be pressed:
7 02Е5 С100 С120 F100
When the job is done, “11” displays on indicator A and MONITOR-0 is ready for the following command.
Sometimes it is necessary to insert or delete a byte in a program. There are three programs for this task.
The “Insert byte” program starts from 035ЕН. Parameters are the address for a byte to be inserted and the last address of the program.
The “Delete byte” program starts from 0388Н. Parameters are the address for a byte to be inserted and the last address of the program. The program finishes with a review of the remaining part of the program.
The “Change address” program starts from 0309Н. The first and the last addresses of the program, as well as old and new addresses, have to be entered as parameters. When the task is completed, “11” displays on indicator A and MONITOR-0 is ready for the following command.
The last standard program from MONITOR-0 is a program that displays CPU registers. It is a handy feature for debugging. The following bytes must be entered into a program by “Insert byte”: CD DD 03. Your program will stop in this place and show the current address and its data. By pressing any button, you can see CPU registers in the following order: AF, ВС, DE. The program runs further after that.
Command “3” tests seven-segment indicators of the computer. It shows hex digits from 0 to F to all indicators. MONITOR-0 has a clock program as well. There is a 1Hz timer interrupt that is used by this program. It can be turned on by switch SW[6].
Command “С” is used for time setup. After pressing “C”, all interrupts are disabled. The address C3FDH needs to be entered, and then seconds, minutes and hours are keyed in. To start the clocks, the “RESET” button has to be pressed (KEY[0] on DE1 or “Esc” on PS/2 keyboard). It will enable interrupts and start the clock.
For time indication, command “B” can be used. HL indicators display hours and minutes, while indicator A displays seconds.
Some games were published in the “Young Technician” journal for this computer. For convenience, I’ve put those programs to ROM, which has an address range from 0200 to 23FF. This ROM can be switched on by SW[4] on the DE1 board.
Program «Reaction» can be loaded from the ROM by the following command:
7 0200 2000 205F С000
(make sure that the ROM is turned on by SW[4] before) or loaded from a tape by command “1” from address C000H to C05DH. After launching the game with the command “6”, press “0” and any button. All indicators will show “FF”. You have to press the “RESET” button once the indicators change. A number on the indicators shows your reaction speed. Less is better.
Program «Gamma» can be loaded from the ROM by the following command:
7 0200 2060 20EF С000
Or from a tape with command «1» from C000H to С082Н. To launch the program, command “7” is used from address С03ЕН. After the program launch, notes of time and delay between them are entered by hex figures in the range of 01-FFH. Gamma is played through “LINE OUT” jack.
Program «Noughts and crosses» can be loaded from the ROM by the command
7 0200 20F0 215F С000
or from the tape from addresses C000H to С065Н. The game field consists of 9 cells as marked below:
| 01 | 02 | 03 |
| 08 | 09 | 04 |
| 07 | 06 | 05 |
When the game is launched by command “6”, on the right indicators “09” is displayed. It is the first move of the computer. In this game, the computer always starts first with this move. Enter your cell number to put your naught. If the computer wins, it displays “73”; in case of a draw – “11”.
Program «Labyrinth». «Labyrinth» is a size 16 х 16 field filled with obstacles. The set of obstacles needs to be loaded separately starting from С200Н. Keeping the field in mind, a player must go from the field’s bottom right corner (coordinates FFH) to the top left (coordinates 00H) corner by the shortest possible route. Moves are performed by four buttons: «1» — one cell left; «2» — one cell right; «3» — one cell up; «4» — one cell down. Each move is combined with a short sound (through the “LINE OUT” jack). No sound is played if there is an obstacle, but the step is counted. The number of moves is displayed on HL indicators, while current coordinates are on indicator A. The game can be loaded from ROM with this command:
7 0200 2160 225F С000
Or loaded from the tape from address C000H. Also, the labyrinth map has to be loaded from address С200Н. A tape can be used for this purpose, or it can be loaded from the ROM as well:
7 0200 2260 235F С200
After that, the game can be launched with the command “6”. Any button has to be pressed to start the game.
Math library
One of the computer extensions was a math library that allowed calculating simple math operations and computing trigonometric, exponential and logarithmic functions. This library can use floating-point numbers.
I’ve added this library to the project as well. The library uses cells С361— C37F for baseline data, intermediate calculations and the final result. Baseline data is written in the direct code as single-byte and double-byte fixed-point numbers. The sign of the number is recorded in the highest bit. If it is “0”, the number is positive; if it is “1” – negative. For two-byte numbers, the 15th bit contains the sign bit, and the 14th bit is overflow. Single-byte can be from FFH to 7FH or from —127 to + 127. Double-byte — from BFFFH to 3FFFH (from -16 383 to +16 383).
For floating-point numbers, triple-byte numbers are used. The first byte determines an order of magnitude, while the second and the third – the mantissa. The formula can calculate a binary number represented in the floating point format:
D = (-1)s * 2e (-1)p * f
where Р — sign bit of an order of magnitude, S—number sign bit (if S=0 — the number is positive, if S = 1 — negative), е — order of magnitude, f — mantissa.
Order of magnitude shows the number of binary positions on which mantissa needs to be shifted to make a number in memory presented as a normalised number, which is less than 1, with the first significant digit after the decimal point. If a sign bit of an order of magnitude is zero, mantissa shifts left. Otherwise, it shifts right. Hence, the range of digits is from 10-35 to 1035.
The math lab has two types of programs – main and service. Let’s have a loon on service ones first.
Mantissa normalisation.
The first service program is “Mantissa normalisation”. The triple-byte number from memory С371Н, С372Н, С373Н is normalising by mantissa shifting. One-bit right shift increases orders of magnitude by 1, while one-bit left shift decreases it by 1. As a result, the cells will have a number in it with zero 14th mantissa bit and ‘1’ in the 13th mantissa bit. The launch address for this program is 092DH.
Two-numbers normalisation.
This program does the relative normalisation of two numbers. It needs, for instance, to sum floating-point numbers, which requires equal orders of magnitude. The program takes the first number from С371Н, С372Н, С373Н and the second number from С374Н, С375Н, С376Н and compares the absolute values of its orders of magnitude. A bigger order replaces a smaller one, and the number’s mantissa with smaller order shifts right on the difference between those two numbers. The launch address of this program is 0877Н.
Passing data to registers
This program passes triple-bit numbers to registers А — В — С. The initial address of this number has to be in the HL register. The launch address of this program is 0А8СН. Another program passes data from registers А — В — С to memory using an address from the HL register. The launch address of this program is 0А92Н.
Arithmetic operations
Addition of single-byte signed numbers.
The terms have to be located in addresses С371Н and С374Н. The result is put to address С374Н. The launch address is 0849Н.
Addition of double-byte signed numbers.
The terms have to be located in addresses С372Н and С373Н (the first term) and С375Н and С376Н (the second term). The result is put into addresses С375Н and С376Н. The launch address is 08DDH.
Addition of triple-byte floating-point numbers.
The first term should be put in cells С371Н, С372Н, С373Н and the second term in cells С374Н, С375Н, С376Н; The result will be in cells С374Н, С375Н, С376Н. The launch address is 0987Н.
Multiplication of two-byte signed numbers.
The factors are located in memory at the addresses С372Н, С373Н and С375Н, С376Н. The product is entered in cells С375Н, С376Н. The launch address is 0994Н.
Multiplication of triple-byte floating-point numbers.
The factors are located in memory at the addresses С371Н, С372Н, С373Н and С374Н, С375Н, С376Н. The product is entered in cells С374Н, С375Н and С376Н. The launch address is 09ЕСН.
The division of two-byte fixed-point numbers.
The dividend and divisor are located in memory at the addresses С375Н, С376Н and С372Н, С373Н. The result is in cells С375Н and С376Н. The launch address is 09F9H.
The division of floating-point numbers.
The dividend is located in cells С374Н, С375Н, С376Н, the divisor in cells С371Н, С372Н, С373Н. The result is in cells С374Н, С375Н, С376Н. The launch address is OA6FH.
The exponential function.
The exponent is stored in the cell С364 and power in cells С371Н, С372Н, С373Н. The result will be in cells С374Н, С375Н, С376Н. The launch address is 0В08Н.
The logarithmic function (natural logarithm).
An argument is entered in cells С361Н. С362Н, С363Н. The result will be in cells С368Н, С369Н, С36АН. The launch address is ОВ6ВН.
Trigonometric functions
SIN X С361Н, С362Н, С363Н. Result in С355Н, С366Н, С367Н. The launch address is ОС87Н.
COS X С361Н, С362Н, С363Н. Result in С365Н, С366Н, С367Н. The launch address is 0D32Н.
TG X С361Н, С362Н, С363Н. Result in С374Н, С375Н, С376Н. The launch address is 0Е47Н.
CTG X С361Н, С362Н, С363Н. Result in С374Н, С375Н, С376Н. The launch address is 0F61H.
ARC TG X С361Н, С362Н, С363Н. Result in С365Н, С366Н, С367Н. The launch address is ОЕ75Н.
ARC SIN X С361Н, С362Н, С363Н. Result in С365Н, С366Н, С367Н. The launch address is 0D47H.
ARC COS X С361Н, С362Н, С363Н. Result in С365Н, С366Н, С367Н. The launch address is 0Е40Н.
ARC CTG X С361Н, С362Н, С363Н. Result in С365Н, С366Н, С367Н. The launch address is 0F8FH.
Whoa, that was long 🙂 I hope it is clear enough. Please, let me know if something requires more details, and I’ll add that.
In the next post, we will launch the computer in complete configuration. See you!